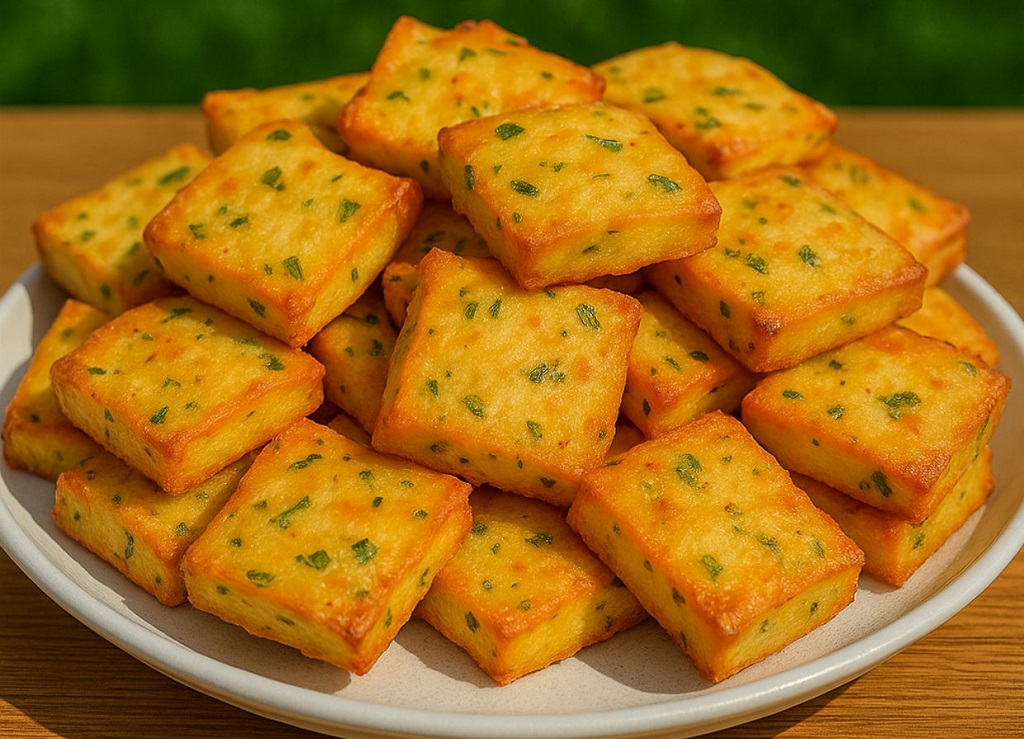
If your little ones turn their noses up at veggies, this recipe is the secret weapon. These cheesy potato snack bites are warm, crispy, and filled with a gooey cheddar and potato center that melts in the mouth. My kids ask for these every week and honestly, I love them just as much. Made with simple pantry staples and ready in under an hour, they’re perfect for lunchboxes, after school treats, or party platters.
Why These Potato Snacks Are a Total Winner
- Soft dough outside, cheesy potato filling inside
- Pan cooked no deep frying needed
- Kid friendly, adult approved
- Customizable with your favorite cheeses or herbs
- Great for make ahead and freezer friendly
“These are like little flavor bombs crisp on the outside, cheesy and savory in the center. My toddler ate five in one go!”
Ingredients for the Cheesiest Potato Snacks
| Ingredient | Amount |
|---|---|
| All purpose flour | 2 cups |
| Active dry yeast | 1 teaspoon |
| Sugar | 1 teaspoon |
| Salt | 1/2 teaspoon |
| Warm water | 3/4 cup |
| Olive oil | 2 tablespoons |
| Potatoes (large) | 2 |
| Cheddar cheese (shredded) | 1 cup |
| Green onions (chopped) | 1/4 cup |
| Garlic powder | 1/4 teaspoon |
| Cooking spray | As needed |
Step by Step to Make Cheesy Potato Snack Bites
1: Make the Dough
- In a mixing bowl, combine flour, yeast, sugar, and salt.
- Pour in the warm water and olive oil, mixing until a soft dough forms.
- Knead on a floured surface for 5-7 minutes until smooth and elastic.
- Cover the bowl with a towel and let the dough rest for 30 minutes.
2: Prepare the Filling
- Peel and grate the potatoes, then place in a clean towel and squeeze out as much moisture as possible.
- Transfer to a bowl and mix in cheddar cheese, green onions, and garlic powder.
- Stir well to combine the mix should be tacky but not wet.
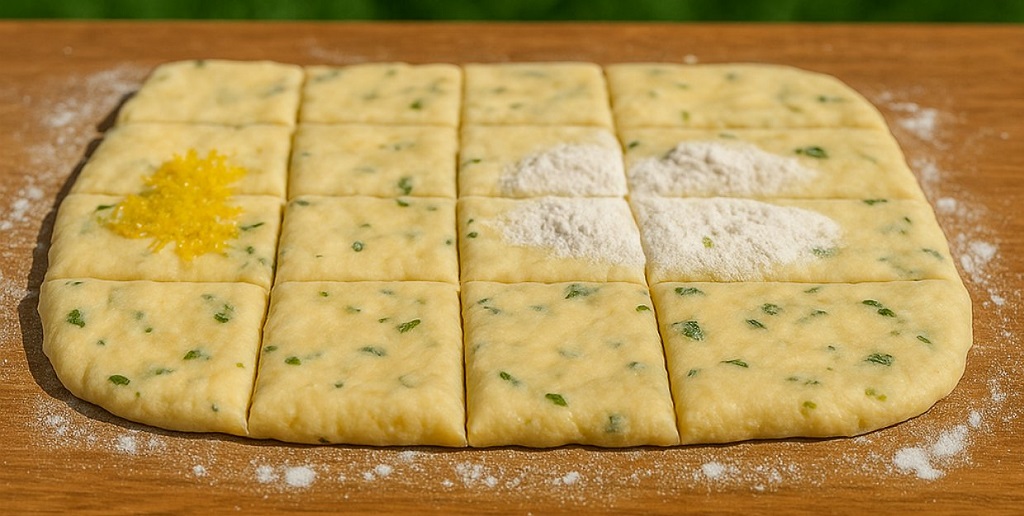
3: Assemble the Bites
- Divide the dough into small golf ball sized portions.
- Flatten each ball into a disc with your hands.
- Spoon about 1 tablespoon of filling into the center, then wrap the dough around it and seal into a ball.
4: Cook Until Golden
- Heat a nonstick skillet over medium heat and coat lightly with cooking spray.
- Place a few stuffed dough balls in the pan and cook for 2-3 minutes per side, gently pressing down with a spatula.
- Flip until all sides are golden brown and crispy.
5: Serve Hot
- Let cool for 2 minutes before serving to avoid burning fingers or tongues!
- Serve with ketchup, sour cream dip, or a yogurt based dressing.
Kid Friendly Variations and Add Ins
- Broccoli Cheddar: Add 1/4 cup finely chopped steamed broccoli to the filling.
- Ham and Cheese: Mix in diced ham or turkey with the potatoes and cheese.
- Pizza Style: Add a few tablespoons of marinara sauce and mini pepperoni pieces to the filling.
- Spicy Kick: Add a pinch of chili flakes or chopped jalapeños for older kids or adults.
Creative Ways to Serve These Snacks
- Lunchbox hero: Pack 3-4 in a lunchbox with a side of veggies and dip.
- After school snack: Warm in the toaster oven for 5 minutes crispy and ready!
- Party platter: Serve on a tray with toothpicks and dipping sauces for a crowd pleaser.
- Mini dinner: Pair with a salad and soup for a cozy evening meal.
Chef’s Secrets for the Best Potato Snack Bites
- Drain the potatoes well: Moisture is your enemy here squeeze out everything you can.
- Use sharp cheddar: The stronger the cheese, the better the flavor punch.
- Don’t overfill: Too much filling and the dough won’t seal properly.
- Pan over oven: The skillet method gives a golden crust and a soft center that’s unbeatable.
Nutrition Information (Per Serving)
| Nutrient | Amount |
|---|---|
| Calories | 220 |
| Fat | 9g |
| Carbohydrates | 28g |
| Protein | 6g |
| Sodium | 270mg |
Freezer Friendly and Make Ahead Instructions
One of the best parts about these cheesy potato snack bites is how easily they adapt to busy schedules. I’ve made these ahead of school weeks, frozen them for unexpected guests, and even prepped them for party day warm ups. Here’s how to store, freeze, and reheat these bites so they taste freshly made every time.
To Make Ahead
- Prepare the dough and filling as directed.
- Stuff and shape the balls, then place them on a parchment lined tray.
- Cover with plastic wrap and refrigerate for up to 24 hours before cooking.
Freezing Uncooked Bites
- After shaping, arrange the uncooked bites in a single layer on a tray.
- Freeze until solid (about 2 hours), then transfer to a zip top freezer bag.
- Cook directly from frozen in a skillet, adding 1-2 minutes per side to cooking time.
Freezing Cooked Bites
- Let the cooked bites cool completely.
- Wrap individually or layer with parchment paper in an airtight container.
- Reheat in the oven at 350°F (175°C) for 8-10 minutes, or until heated through and crisp.
Perfect Dips for Cheesy Potato Snacks
Let’s be honest dips take these from good to irresistible. I’ve tested all kinds of sauces, from kid favorites to elevated adult versions. These are my personal favorites for dipping:
Kid Friendly Dips
- Ketchup: Classic and always popular with little ones.
- Ranch dressing: Creamy and herby, it balances the cheesy filling.
- Sour cream with chives: Light and fresh with a savory punch.
Gourmet Dip Ideas
- Garlic aioli: Homemade or store bought, this adds richness.
- Spicy mayo: Mix mayonnaise with a dash of hot sauce or sriracha.
- Green goddess dip: Blend avocado, yogurt, and fresh herbs for a bright green dip.
Fun Shapes for Kids
To make these snacks even more exciting for young eaters, try shaping them into fun forms:
- Mini patties: Press slightly flat for a burger like shape.
- Sticks: Roll the dough into logs instead of balls.
- Hearts or stars: Use cookie cutters on the flattened dough before stuffing.
Kids love when food looks playful, and even picky eaters are more likely to try something that looks like fun!
Hosting Tip: Party Prep and Plating
These bites are perfect for parties easy to hold, delicious warm or room temp, and endlessly adaptable. I’ve served them at kids’ birthdays, game nights, and even holiday buffets. Here’s how to prep and serve them for a crowd:
- Make a variety: Create 2-3 different fillings to keep guests intrigued.
- Serve on skewers: Thread three bites onto a stick with a cherry tomato or cube of cheese.
- Use dipping stations: Set out different dips in small ramekins and label them.
What Makes These Better Than Store Bought?
| Feature | Homemade | Store Bought |
|---|---|---|
| Freshness | Made from scratch, no preservatives | Often contains additives |
| Texture | Crispy outside, gooey inside | Can be soggy or overly dry |
| Flavor | Fully customizable and natural | Generic, lacks depth |
| Ingredients | Whole food, real cheese | Processed fillings |
| Fun Factor | Kids can help shape them | No hands on experience |
My Experience Developing This Recipe
I first created this recipe out of necessity I needed a fun snack that didn’t come out of a box and could be prepped ahead of school days. The first batch had too much moisture and burst open in the pan. The second attempt had too little filling. But by the third round, everything clicked fluffy dough, perfectly seasoned filling, and that satisfying golden crust. The kids went wild for them, and I knew it had to be a keeper.
Now they’re part of our weekly meal prep. I often make double batches, freeze half, and smile every time I hear, “Are those the cheese balls again?”
Reader Reviews
“My toddler is obsessed! I love that I can freeze them and heat one or two at a time. Genius snack idea.” Lisa B.
“I used sweet potatoes instead and they were delicious. Thank you for the detailed instructions!” Omar K.
“Made these for my kid’s birthday party HUGE hit. I should’ve tripled the recipe.” Janet R.
FAQs
Can I bake these instead of cooking them in a skillet?
Yes! Place the filled dough balls on a parchment lined baking sheet and brush lightly with olive oil. Bake at 375°F (190°C) for about 18-20 minutes, flipping halfway through for even browning. The result will be slightly less crisp than pan cooking but still delicious.
How do I keep the filling from leaking out?
Make sure the dough completely seals around the filling. If the potato mixture is too wet, it may seep out. Always squeeze out excess moisture from the grated potatoes and avoid overstuffing each ball.
Can I make the dough without yeast?
Yes, you can substitute 1 tablespoon of baking powder for the yeast. The texture will be more like a biscuit than bread, but still soft and tasty. Let the dough rest for 10 minutes before shaping.
Do these freeze well?
Absolutely. You can freeze them either cooked or uncooked. If freezing uncooked, cook straight from frozen, adding a few extra minutes to the skillet time. If freezing cooked, reheat in the oven at 350°F for 8-10 minutes.
Can I add protein to the filling?
Yes! Add finely diced cooked chicken, crumbled tofu, or even lentils for extra nutrition. Just make sure the filling stays compact and not too wet.
Are these gluten free?
Not as written, but you can try using a gluten free all purpose blend in place of the flour. Add 1/2 teaspoon xanthan gum if your blend doesn’t include it. Texture may vary slightly but will still be tasty.