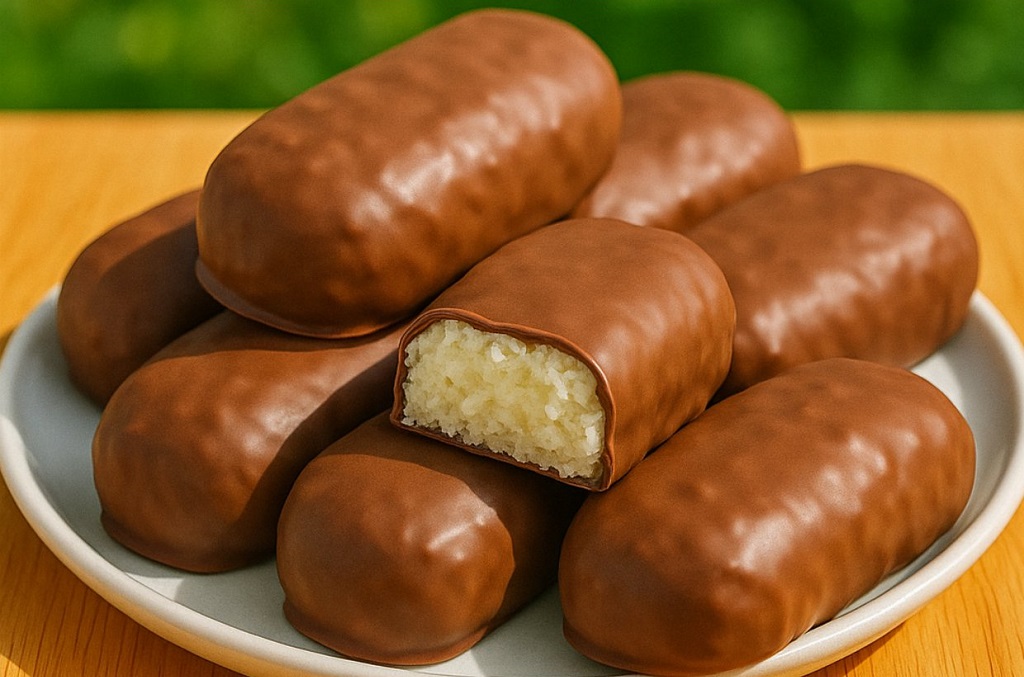
If you’re dreaming of a quick homemade candy bar that tastes just like your favorite Bounty bar, this recipe is your golden ticket. These quick and easy coconut chocolate bars are creamy, sweet, and coated in a rich chocolate shell without the need for an oven.
As a chef, I’m always looking for fuss free dessert ideas that impress without stress, and this one hits the mark. With only three ingredients and no complicated steps, it’s ideal for beginners or when you need a last minute treat. Let’s dive into how to make them melt in your mouth perfect!
Why You’ll Love These Coconut Bars
- No baking required: Great for hot days or quick prep.
- Only 3 ingredients: Simple pantry staples.
- Taste like store bought Bounty bars: But fresher and richer!
- Customizable: You can adjust the chocolate type or sweetness.
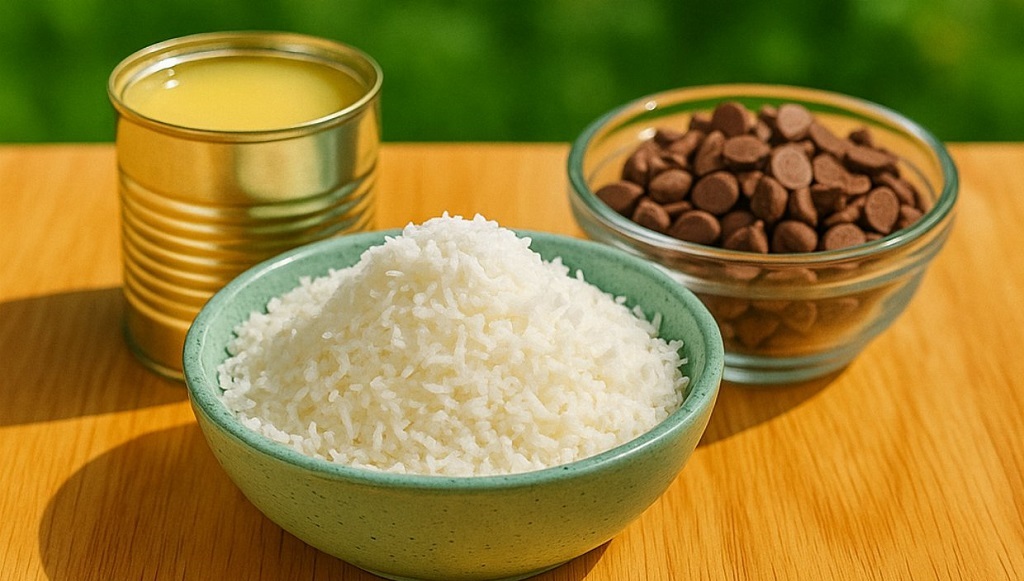
Ingredients You’ll Need
| Ingredient | Quantity |
|---|---|
| Shredded coconut (unsweetened or sweetened) | 3 cups |
| Sweetened condensed milk | 1 can (14 oz / 400g) |
| Chocolate chips or chopped chocolate (milk or dark) | 2 cups |
Step by Step to Make Coconut Chocolate Bars
1: Mix the Coconut Filling
- In a large mixing bowl, combine the shredded coconut and sweetened condensed milk.
- Use a spatula or clean hands to mix until a sticky dough like texture forms.
- If using sweetened coconut, taste and adjust sweetness if needed with a pinch of salt.
2: Shape the Bars
- Line a baking sheet with parchment paper.
- Use your hands to form small rectangular bars (about 2 inches long) and place them on the tray.
- Freeze for 30-45 minutes to firm up the shape before dipping in chocolate.
3: Melt the Chocolate
- Place chocolate chips or chopped chocolate in a heatproof bowl.
- Melt over a double boiler or in the microwave in 30-second bursts, stirring until smooth.
- Let it cool slightly so it’s not too runny when coating.
4: Coat and Set
- Remove the coconut bars from the freezer and dip each one in the melted chocolate.
- Use two forks to help turn and coat evenly. Let excess chocolate drip off.
- Place coated bars back onto the parchment lined tray.
5: Chill and Serve
- Refrigerate the chocolate coated bars for 20-30 minutes or until the chocolate is fully set.
- Store in an airtight container in the fridge for up to 10 days or freeze for longer shelf life.
“These no bake coconut bars are my go to when I need a dessert that looks impressive but takes no effort. They’ve become a freezer staple in my kitchen!”
Want to take these bars to the next level with flavor variations and expert tips? Part 2 reveals pro chef tweaks and serving ideas to customize your coconut chocolate experience.
Tips to Customize Your Coconut Chocolate Bars
- Add a crunch: Mix in ¼ cup chopped almonds, walnuts, or toasted cashews into the coconut filling for texture and flavor contrast.
- Make it tropical: Add ½ tsp pineapple extract or orange zest for a fruity twist that pairs beautifully with coconut.
- Use white or dark chocolate: For a visual change or deeper chocolate flavor, coat the bars in dark or white chocolate instead of milk.
- Double coat for extra richness: Chill once after the first dip, then dip a second time in chocolate for a thicker, crackling shell.
Perfect Occasions for These Bars
- Lunchbox surprise: These hold up well when chilled, making them ideal for school or work snacks.
- Holiday platters: Their neat look and glossy finish make them a hit at parties.
- No oven summer desserts: Keep the kitchen cool while satisfying your sweet tooth.
- Gift boxes: Wrap individually in parchment and tie with a ribbon for homemade candy gifts.
Common Mistakes and How to Avoid Them
- Too runny filling: If your coconut mixture feels wet, add 2-3 tbsp more shredded coconut to help bind it together.
- Chocolate won’t stick: Always freeze the bars before dipping this helps the chocolate set quickly and adhere better.
- Cracked chocolate coating: Let melted chocolate cool slightly before dipping. If it’s too hot, it may crack once set.
- Chocolate too thick or clumpy: Add 1 tsp coconut oil to melted chocolate to smooth it out for easier coating.
How to Store and Freeze for Later
- Store finished bars in an airtight container in the refrigerator for up to 10 days.
- For freezer storage, wrap each bar in plastic wrap and place in a ziplock bag. They’ll last up to 2 months.
- To serve, let frozen bars sit at room temperature for 5 minutes before enjoying. The texture remains perfect.
Serving Ideas and Pairings
Here’s how I like to serve these rich coconut chocolate bars depending on the occasion:
- With a warm mug of spiced milk tea on chilly days
- As part of a sweet board alongside vanilla wafer cookies and crinkle cookies
- Crumbled over strawberry yogurt bowls for a textural contrast
Why I Love Making These Bars
Every chef has their guilty pleasure and for me, it’s recreating nostalgic candy flavors at home. These coconut bars taste almost identical to Bounty bars but with more coconut flavor, better texture, and no preservatives. I love how easy they are to prep, how well they freeze, and how much people rave about them when I serve them chilled with coffee or tea. If you’re looking for a no fail, crowd pleasing dessert this is the one.
“I once brought a batch of these to a summer barbecue, and they disappeared in 15 minutes. Everyone thought I bought them from a gourmet chocolate shop.”
FAQs About Coconut Chocolate Bars
Can I use unsweetened coconut?
Yes, you can, but keep in mind the bars will be less sweet. If using unsweetened coconut, consider adding 1-2 extra tablespoons of sugar or honey to balance the flavor.
Do I need to temper the chocolate?
Tempering is optional. For a glossy, snappy finish, tempering helps but for casual treats, simply melting chocolate with 1 tsp coconut oil works well and sets smoothly in the fridge.
How do I prevent the chocolate from cracking?
Always allow the melted chocolate to cool slightly before dipping the frozen bars. Avoid over freezing the bars for too long, and don’t press hard when coating.
Can I make these vegan?
Absolutely. Use sweetened condensed coconut milk instead of dairy based, and choose vegan dark chocolate for coating. The texture and taste are still spot on.
What’s the best way to shape them evenly?
Use a small rectangular mold or press the coconut filling into a parchment lined loaf pan, freeze, then slice into bars before dipping.
Love no bake recipes like this? Follow us on Facebook for more fast dessert ideas, behind the scenes prep tips, and chef tested treats every week!