If you’re craving a frozen dessert that’s ultra-creamy, tropical, and naturally dairy-free, this Creamy Coconut Ice Cream is the answer. Made with rich coconut cream, a hint of caramel-like palm sugar, and no eggs or heavy cream it’s light yet indulgent, and perfect for both vegans and coconut lovers alike.
Why This Coconut Ice Cream Is So Addictive
Unlike store-bought versions that can be icy or artificial, this homemade treat is smooth, scoopable, and packed with real coconut flavor. It’s thickened with cornstarch instead of egg yolks, making it lighter but still custard-like. No dairy, no complicated equipment required and it tastes amazing with crunchy peanuts or sweet corn on top!
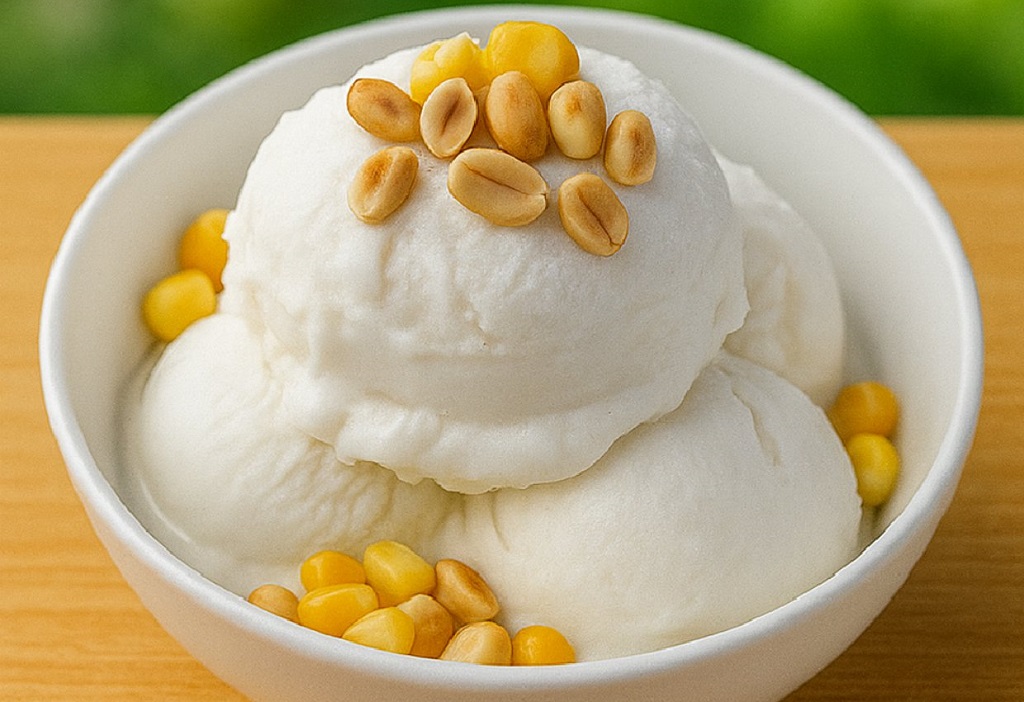
“I served this at a family dinner with sweet corn and toasted peanuts on top no one believed it was dairy-free!”
Whether you’re enjoying it in a bowl, between cookies, or Thai-style with corn and peanuts, this ice cream brings coconut to the center stage in the most refreshing way.
Ingredients You’ll Need
- Coconut cream or full-fat coconut milk: Use high-quality, full-fat for the creamiest results.
- Palm sugar: Adds a deep, natural sweetness and color. You can substitute brown sugar.
- Salt: Just a pinch balances the flavor and enhances the sweetness.
- Cornstarch: Helps thicken the base to a creamy custard consistency without eggs.
- Water: Used to dissolve the cornstarch into a smooth slurry.
Looking for more frozen treats? Try our 2-Minute Yogurt Ice Cream or our refreshing Creamy Lemon Ice Cream for a fruit-forward alternative.
Recommended Tools
- Saucepan
- Whisk or wooden spoon
- Small bowl (for cornstarch slurry)
- Ice cream maker (optional)
- Freezer-safe container with lid
Step by Step to Make Creamy Coconut Ice Cream
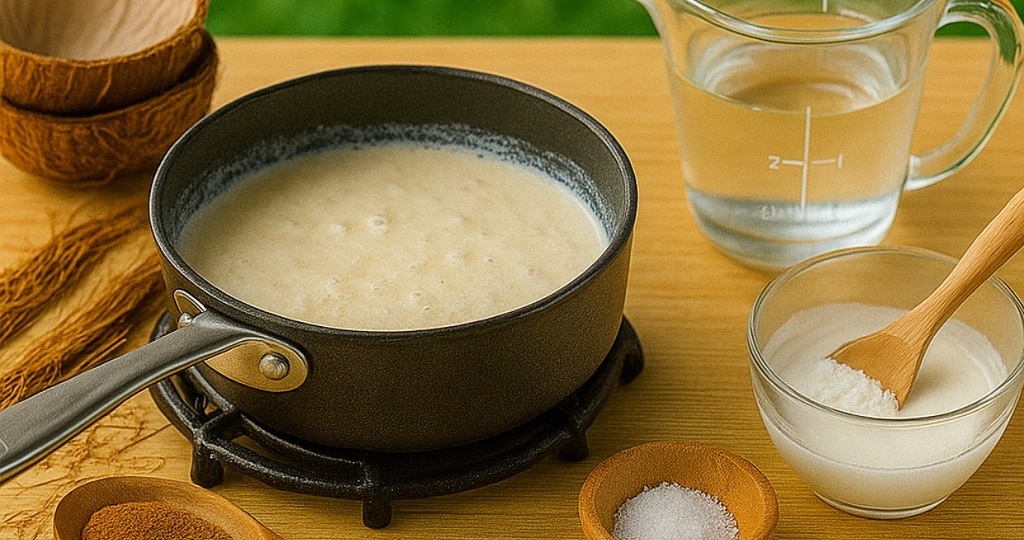
1: Make the Coconut Base
- In a saucepan over medium heat, pour in 4 cups coconut cream (or full-fat coconut milk).
- Add 1 cup palm sugar (or brown sugar) and a pinch of salt.
- Stir gently and constantly until the sugar fully dissolves and the mixture is hot but do not let it boil.
2: Thicken with Cornstarch
- In a small bowl, dissolve 4 tablespoons cornstarch in 1 tablespoon water to make a slurry. Stir until smooth.
- Slowly pour the slurry into the hot coconut mixture while stirring constantly to prevent clumps.
- Keep cooking over medium heat for about 5-7 minutes, stirring nonstop, until the base thickens to a smooth, creamy texture like a pourable custard.
3: Cool the Base
- Remove the pot from heat and let the mixture cool to room temperature.
- Once cooled, pour it into a container and cover tightly.
- Chill in the refrigerator for at least 4 hours, or ideally overnight. A well-chilled base ensures a smooth, scoopable ice cream.
4: Freeze Your Ice Cream
- If using an ice cream maker: Pour the chilled mixture into your machine and churn according to the manufacturer’s instructions (usually 20-25 minutes) until soft-serve consistency.
- If not using a machine: Pour the chilled base into a freezer-safe container. Every 30 minutes for the first 3 hours, remove from freezer and vigorously stir with a fork or whisk to break up ice crystals. After that, freeze solid.
5: Serve and Garnish
- Before scooping, let the ice cream sit at room temperature for 5-10 minutes to soften slightly.
- Serve in bowls or cones, and top with roasted peanuts, sweet corn, or toasted coconut flakes for a classic Thai-inspired finish.
Chef’s Note: The ice cream will harden more over time in the freezer. Letting it rest on the counter for a few minutes before scooping brings back the perfect creamy texture.
Storage, Reheating, and Expert FAQs
This coconut ice cream is easy to store and enjoy over several days without losing its creamy texture.
- Freezer Storage: Store in an airtight, freezer-safe container for up to 2 weeks. Press a sheet of parchment paper or plastic wrap directly on the surface before sealing to prevent ice crystals.
- Softening Before Serving: Let the container sit at room temperature for 5-10 minutes before scooping to achieve a smooth, creamy texture.
- Do not microwave: This can ruin the texture. Always thaw naturally.
FAQs
Can I use light coconut milk?
It’s not recommended light coconut milk has too much water and can lead to an icy texture. Use full-fat coconut cream for best results.
Is an ice cream maker necessary?
No! While it makes things easier, you can get excellent results by manually stirring the mixture every 30 minutes during the first 3 hours of freezing.
Can I substitute palm sugar?
Yes. Brown sugar, coconut sugar, or even white sugar can work. Palm sugar adds depth and authentic flavor, but others still taste great.
How do I make it more scoopable?
Adding 1 tablespoon of vodka or corn syrup to the base can help prevent the ice cream from freezing too hard.
What toppings go well with this ice cream?
Classic options include roasted peanuts, sweet corn, toasted coconut, or even chocolate chips for a fusion twist.
Love tropical desserts? Follow us on Facebook for more refreshing, creamy, and easy-to-make treats!