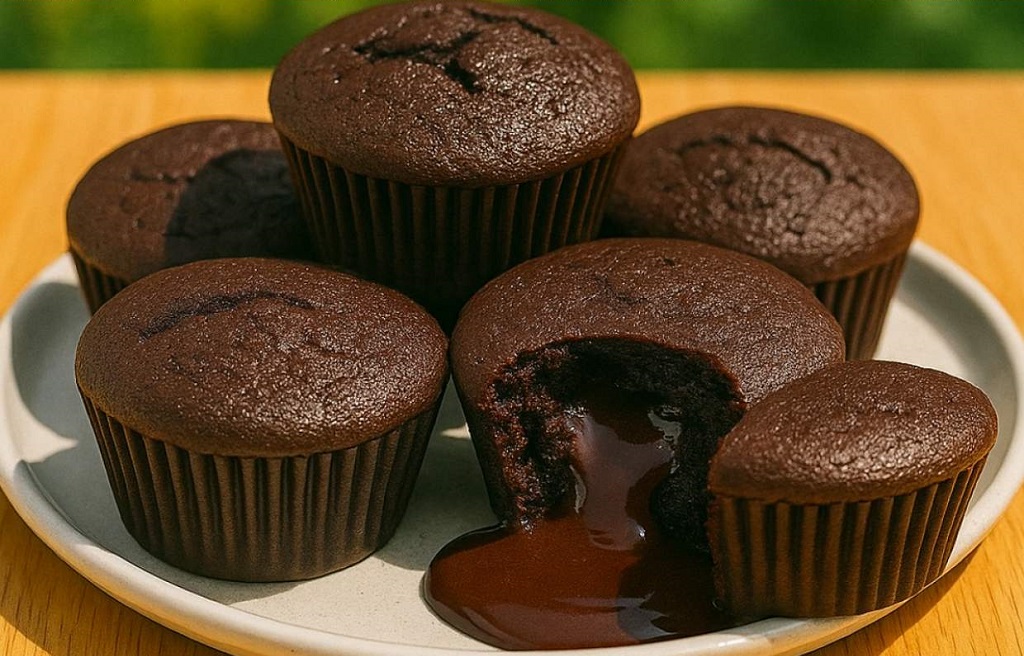
There’s something almost magical about breaking into a freshly baked molten chocolate lava cake with cake flour the tender cake gives way to a silky stream of warm, rich chocolate. These little indulgent cakes are the kind of dessert you make when you want to impress without stress. Whether you’re celebrating date night at home, hosting friends, or just craving something decadently chocolatey, this dessert delivers every time.
I first made these for a small dinner party years ago, and I still remember how everyone leaned in as I served them warm, waiting to see that molten center spill out. The moment it did? Instant silence, followed by “Wow.” Since then, they’ve become my go to treat when I want to make a big impact with just a few ingredients and a short prep time. The best part? You probably have everything you need already in your pantry.
Why These Cakes Always Impress
- Molten center magic: That lava flow of warm chocolate never gets old.
- Small batch perfection: Makes just enough for a cozy dinner or chocolate craving night.
- Quick to bake: Only 8-10 minutes in the oven seriously.
- No fancy equipment: Just a couple of bowls, a whisk, and cupcake molds or ramekins.
Ingredients You’ll Need
- 120g (4.2 oz) dark chocolate 🍫
- 100g (7 tbsp) unsalted butter 🧈
- 2 eggs 🥚
- 2 egg yolks
- 45g (3 ½ tbsp) sugar
- 1g (⅛ tsp) salt
- 50g (⅓ cup) cake flour
Tools You’ll Need
- Heatproof bowl for melting chocolate
- Whisk and mixing bowls
- Measuring scale or cups/spoons
- Small cupcake molds or ramekins
- Oven mitts and cooling rack
Before You Start
- Preheat the oven: Set it to 200°C (392°F) and let it fully come to temp.
- Grease your molds: Use butter and a light dusting of cocoa powder or flour so the cakes release easily.
- Chop the chocolate: Smaller pieces melt more evenly and quickly.
Step by Step to Make Molten Chocolate Lava Cakes with Cake Flour
1: Melt the Chocolate and Butter
- Fill a small saucepan with 1-2 inches of water and bring it to a simmer over low heat.
- Place your chopped dark chocolate and unsalted butter in a heatproof bowl. Set it on top of the pan, making sure the bottom doesn’t touch the water.
- Stir gently and constantly until the mixture melts completely into a glossy, smooth sauce.
- Once fully melted, remove from heat and let it cool slightly just a few minutes so it’s warm, not hot, when added to the eggs.
2: Whisk the Eggs and Sugar
- In a separate mixing bowl, whisk together the 2 whole eggs, 2 egg yolks, and sugar until the mixture is thick and pale. This step gives the cakes their structure and rise.
- Keep whisking for about 2 minutes until the sugar is mostly dissolved and the mixture is a bit frothy.
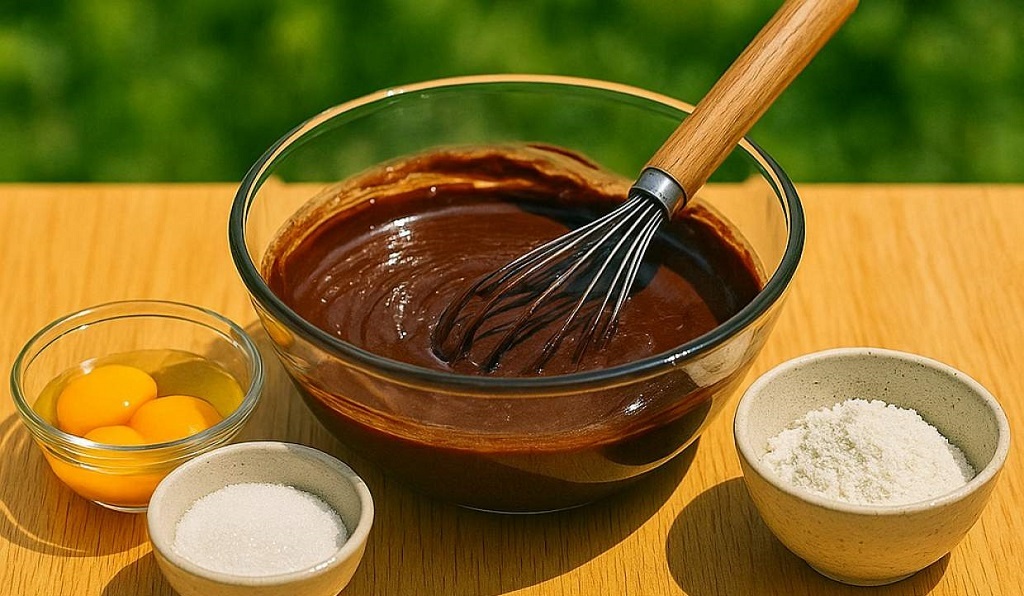
3: Combine the Chocolate and Egg Mixture
- Slowly pour the warm melted chocolate mixture into the egg mixture while whisking constantly. This tempers the eggs and prevents scrambling.
- Whisk until everything is fully blended and smooth. The batter should be rich and glossy at this stage.
4: Add Cake Flour and Salt
- Sift in the cake flour and add the salt.
- Use a rubber spatula or whisk to gently fold everything together until no streaks remain. Don’t overmix you want to keep the texture tender.
5: Fill the Molds
- Grease your cupcake molds or ramekins generously with butter and dust lightly with cocoa powder or flour. This helps with release and adds flavor.
- Spoon the batter into each mold, filling them about ¾ full.
- If you’re prepping ahead, you can cover and refrigerate the filled molds for a few hours. Just bring them to room temperature before baking.
6: Bake to Perfection
- Place the molds on a baking sheet and bake in your preheated oven at 200°C (392°F) for 8-10 minutes.
- The tops should look set, but the centers will still be soft. You’re looking for that perfect moment where the edges are baked and the center stays molten.
- Remove from the oven and let rest for 1-2 minutes. Don’t overbake or you’ll lose the lava effect!
7: Serve While Warm
- Run a small knife around the edge of each cake to loosen.
- Carefully invert onto a plate and lift the mold away.
- Serve immediately while the center is still flowing this is their moment to shine.
- Optional toppings: a scoop of vanilla ice cream, a dollop of whipped cream, fresh berries, or even a drizzle of caramel sauce.
Chef’s Tip: If you’re nervous about unmolding, serve them straight from the ramekin with a spoon it’s just as delicious and looks perfectly rustic.
Storage Tips for Molten Chocolate Lava Cakes
- Refrigerator: Store any unbaked filled molds in the fridge for up to 24 hours. Let them sit at room temp for 20-30 minutes before baking.
- Freezer: You can freeze the filled molds (before baking) for up to 1 month. Bake straight from frozen at 200°C (392°F) for 11-13 minutes.
- After Baking: These are best served warm, but if you do have leftovers, keep them in an airtight container at room temp for 1 day. Microwave in 10-second bursts to gently reheat the center.
Serving Tips and Pairings
- Classic: Serve with vanilla ice cream for that perfect hot cold contrast.
- Elevated: Add a few raspberries or a spoonful of berry compote for tart balance.
- Grown up twist: A sprinkle of sea salt flakes or a dash of espresso powder in the batter deepens the flavor.
- Festive look: Dust with powdered sugar or drizzle with chocolate ganache right before serving.
FAQs About Molten Chocolate Lava Cakes with Cake Flour
Can I use all purpose flour instead of cake flour?
Yes, but cake flour gives these cakes a softer texture. If using all purpose, reduce the amount slightly to avoid a dense crumb.
How do I know when the lava cakes are done?
Look for set edges and a soft center. A slight jiggle in the middle is a good sign it means the center is still molten.
Can I make them ahead of time?
Absolutely. Fill and chill the molds ahead, then bake just before serving. You can also freeze unbaked cakes for future desserts.
Why did my lava cake collapse?
It’s likely underbaked or unmolded too soon. Letting them rest 1-2 minutes after baking helps the structure settle before serving.
Can I add flavorings to the batter?
Yes! A teaspoon of espresso powder, orange zest, or a splash of liqueur like Grand Marnier can elevate the chocolate flavor beautifully.
Follow us for more on Facebook.