
These Tokyo’s famous molten cheese tarts are buttery, creamy, and slightly tangy with a beautifully caramelized top. One bite and you’ll see why they’ve become iconic around the world. The crust is crisp yet tender, and the rich cheese filling melts into a smooth, custardy center that’s pure comfort. Served warm, they’re pure magic but even chilled, they’re dangerously addictive.
I first fell in love with these cheese tarts during a trip to Tokyo. The scent of browned butter and melted cheese wafted through the bakery, drawing crowds to the glass displays. When I got home, I had to recreate them and after much testing, this version delivers that same bakery level indulgence. Each tart is hand filled and brushed with yolk for that glossy golden finish, and the filling jiggles ever so slightly when pulled from the oven. Absolutely irresistible.
Why These Cheese Tarts Are So Addictive
- Molten, creamy centers: The filling is silky, cheesy, and just the right amount of sweet and salty.
- Buttery, crisp crust: Almond flour adds extra depth and texture to the base.
- Perfectly portioned: Each tart is an individual treat no slicing, no mess.
- Better than bakery: Fresh out of the oven, nothing compares to the homemade version.
Ingredients You’ll Need
For the Crust
- 60g unsalted butter, softened 🧈
- 50g powdered sugar
- 1g salt (a small pinch)
- 1 egg yolk 🥚
- 30g almond flour
- 110g low gluten flour (cake flour works great)
For the Molten Cheese Filling
- 170g cream cheese, room temperature
- 35g whipping cream
- 40g egg white
- 40g granulated sugar
- 1 egg yolk (for brushing tops)
Tools You’ll Need
- Mixing bowls and electric hand mixer
- Rubber spatula and whisk
- Tart molds (8 small round ones)
- Rolling pin and baking sheet
- Piping bag or spoon for filling
Before You Start
- Soften the butter and cream cheese: This makes mixing smooth and easy no lumps allowed!
- Chill your tart dough: A cold crust bakes up crisper and holds its shape better.
- Use a scale if possible: Precision is key for perfect texture, especially with the filling.
Step by Step to Make Tokyo’s Famous Molten Cheese Tart
1: Make the Tart Dough
- In a mixing bowl, cream together the softened butter and powdered sugar until light and fluffy.
- Add the salt and egg yolk, mixing until smooth.
- Stir in the almond flour, then gradually add the low gluten flour. Mix just until the dough comes together don’t overwork it.
- Form into a flat disc, wrap in plastic wrap, and chill in the fridge for at least 30 minutes.
2: Shape and Bake the Tart Shells
- Preheat your oven to 170°C (340°F).
- Roll out the chilled dough on a lightly floured surface to about ⅛ inch thickness.
- Cut out rounds to fit your tart molds, gently pressing the dough into each mold and trimming the edges clean.
- Prick the bottoms with a fork, then chill the filled molds for another 10 minutes to prevent shrinking.
- Bake for 13-15 minutes until lightly golden. Let them cool completely before filling.
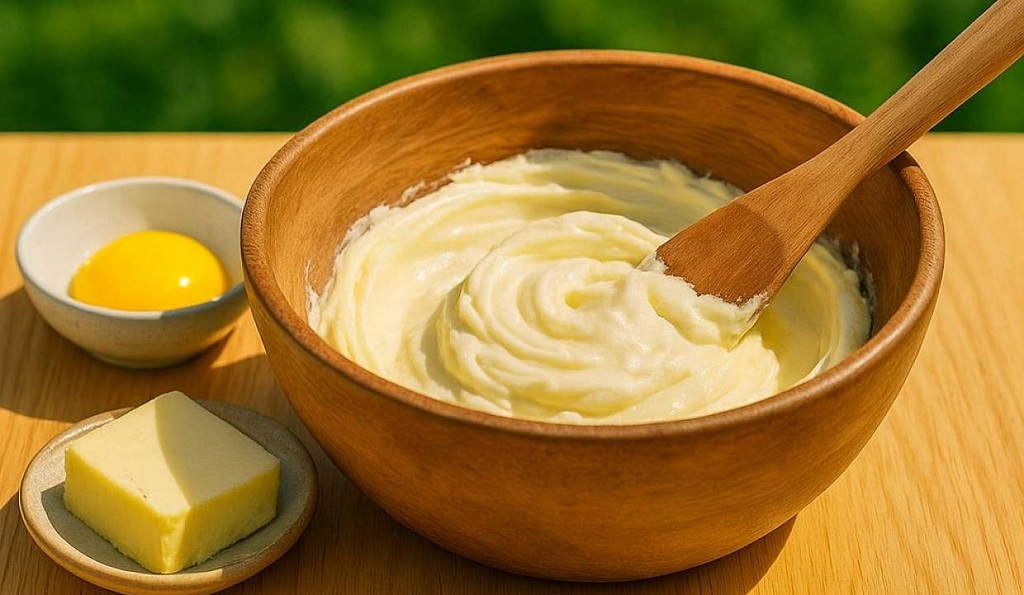
3: Make the Cheese Filling
- In a medium bowl, beat the cream cheese until completely smooth.
- Add in the whipping cream and sugar, mixing until well incorporated.
- Whisk in the egg white until the filling is glossy and slightly airy. Avoid overmixing to keep it light.
4: Fill the Tart Shells
- Spoon or pipe the cheese filling into the baked tart shells, filling just below the rim.
- Gently smooth the tops with the back of a spoon or small spatula.
5: Brush and Bake Again
- Lightly beat the egg yolk and brush a thin layer over the tops of each tart. This gives them that golden, glossy finish.
- Bake at 220°C (428°F) for 5-7 minutes, or until the tops are caramelized and start to puff slightly.
- Watch closely near the end to avoid over browning.
6: Cool and Serve
- Let the tarts rest for 5-10 minutes to set slightly, then serve warm for the full molten experience.
- For a firmer custard, cool completely and chill in the fridge for a few hours they’re delicious either way.
Chef’s Tip: Want that signature Japanese bakery wobble? Slightly underbake the centers by 30 seconds and serve them while still warm. The spoon dip is unreal.
Storage Tips for Tokyo’s Molten Cheese Tarts
- Room Temperature: Best enjoyed warm within a few hours of baking for that molten center experience.
- Refrigerator: Store cooled tarts in an airtight container for up to 3 days. The texture will firm up but remain creamy.
- Reheating: Warm in a 350°F (175°C) oven for 5-7 minutes or until the centers are soft again. Avoid microwaving it can break the filling.
- Freezer: Freeze unfilled baked shells or filled (unbaked) tarts for up to 1 month. Bake from frozen at 400°F (200°C) for 10-12 minutes.
Serving Suggestions
- Serve with a dusting of powdered sugar for a café style touch.
- Add a side of fresh fruit like strawberries or blueberries to balance the richness.
- Enjoy with green tea or coffee hot or iced for a cozy bakery at home feel.
- Plate individually with a swirl of whipped cream or a caramel drizzle for dinner parties.
FAQs About Tokyo’s Molten Cheese Tart Recipe
Why is my filling too runny?
It might have been underbaked or the cream cheese wasn’t firm enough. Let the tarts set a few minutes after baking before serving.
Can I use all purpose flour instead of low gluten flour?
Yes, but the crust will be slightly firmer and less delicate. For a tender shell, cake flour or low gluten is ideal.
Can I skip the almond flour?
You can substitute with more flour, but the almond flour gives a richer, more flavorful crust.
Can I make these in muffin tins?
Yes! Just line them with paper or grease well. Adjust size and baking time slightly as muffin tins are deeper than tart molds.
Do these taste good cold?
Absolutely. The texture changes to a creamy cheesecake like bite. Many people love them straight from the fridge.
Follow us for more on Facebook.