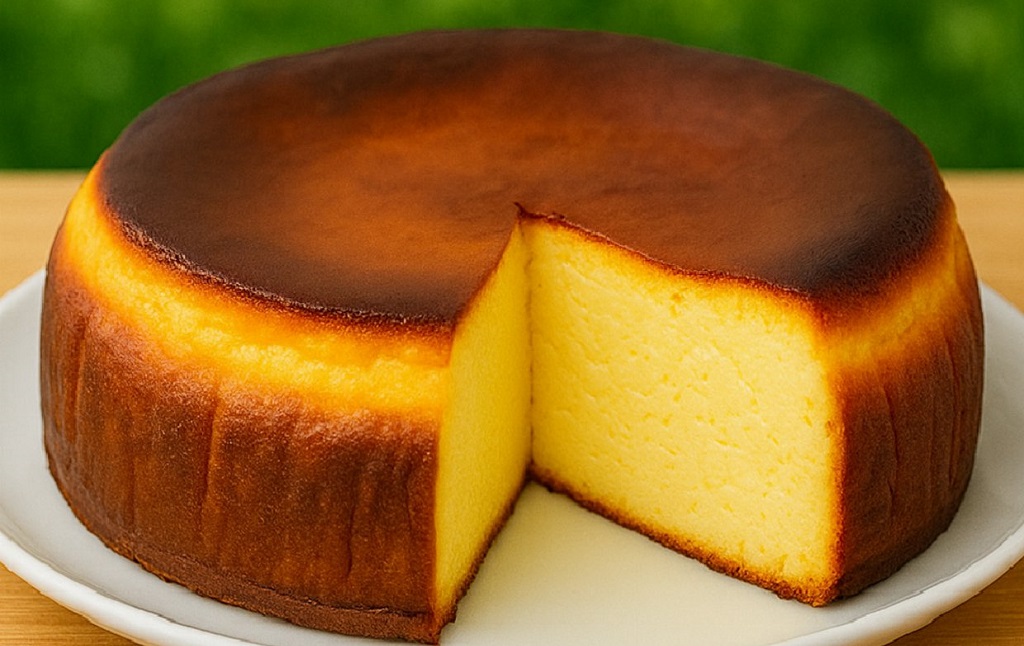
If you’ve never tried a Basque burnt cheesecake before, you’re in for a luscious surprise. Unlike traditional cheesecakes, this one skips the crust and bakes at high heat, resulting in a stunning caramelized top and an ultra creamy center. With just a few basic ingredients and no need for water baths or fancy equipment, this dessert is pure simplicity and pure indulgence. I’ve made it for family gatherings, special dinners, and even just for late night cravings. It never disappoints.
Ingredients You’ll Need
Make sure your cream cheese is fully softened at room temperature before you begin. This ensures a smooth, lump free batter.
- 340g (12 oz) cream cheese, room temperature
- 80g (2.8 oz) granulated sugar
- 3 large eggs, room temperature
- 3 ml vanilla extract
- 1 g salt (a pinch)
- 150g (5.3 oz) heavy whipping cream
- 10g (0.4 oz) corn starch or cake flour
Tools Required
- 8-inch (20 cm) springform pan
- Parchment paper
- Large mixing bowl
- Electric mixer or whisk
- Rubber spatula
- Fine mesh sieve (optional for flour)
Why This Cheesecake is Burnt on Purpose
Most cheesecakes are carefully baked to avoid browning. But this one? We’re doing the opposite. The high heat caramelizes the top and edges, giving a deep amber color that brings out toasty, rich flavors. The inside stays creamy, soft, and almost custard like. It’s this contrast smoky top and melt in your mouth center that makes it unforgettable.
“Basque burnt cheesecake is the cheesecake for people who think they don’t like cheesecake it’s silky, crustless, and gloriously imperfect.”
Tips Before You Start
- Line your pan with parchment that extends above the edges this cake rises high.
- Don’t overmix once the eggs go in this keeps the texture silky, not airy.
- Preheat your oven to 220°C (428°F) for that essential caramelized finish.
Step by Step to Make the Perfect Basque Burnt Cheesecake
1: Preheat and Line Your Pan
- Preheat your oven to 220°C (428°F) and move the rack to the center position.
- Line an 8-inch springform pan with two sheets of parchment paper. Let the paper stick out at least 2 inches above the rim to catch any batter that rises.
2: Beat the Cream Cheese and Sugar
- In a large mixing bowl, beat the softened cream cheese and sugar together until completely smooth and creamy. Scrape down the sides frequently to avoid lumps.
3: Add the Eggs One by One
- Add the eggs one at a time, beating well after each addition. Use a whisk or mixer on low speed to avoid incorporating too much air.
4: Mix in Vanilla and Salt
- Add the vanilla extract and salt. Stir until fully incorporated. This enhances flavor without overpowering the creaminess.
5: Pour in the Cream
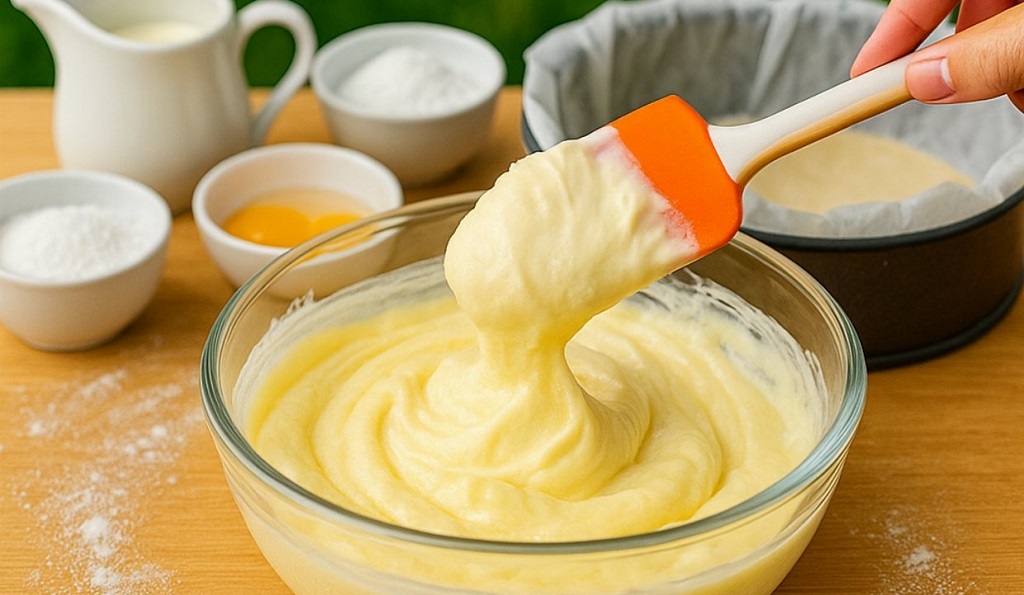
- Gradually add the whipping cream and stir it in gently. The batter will loosen and become silkier in texture.
6: Sift in the Cornstarch or Cake Flour
- Use a sieve to sift in the cornstarch or cake flour to avoid lumps. Gently fold it in using a rubber spatula until just combined.
7: Bake to Golden Perfection
- Pour the batter into the lined pan and tap it gently on the counter to remove air bubbles.
- Bake for 28-32 minutes until the top is deeply golden brown and the center jiggles slightly when shaken.
- The cheesecake will puff up in the oven and settle as it cools this is normal.
8: Cool Slowly, Chill Completely
- Let the cheesecake cool in the pan for at least 1 hour at room temperature.
- Then refrigerate for at least 4 hours (or overnight) before slicing. This resting time helps it firm up while staying creamy inside.
Why This Works So Well
The high oven temperature creates a caramelized top that mimics crème brûlée, while the center stays lush and rich. There’s no water bath needed this is a beautifully rustic dessert that embraces imperfections. It’s one of the easiest cheesecakes to make, and it delivers world class flavor every time.
When you’re ready to serve, don’t forget to warm your knife with hot water between slices for that clean, bakery style cut.
Topping Ideas for Extra Magic
- Fresh berries (raspberries, blueberries, or sliced strawberries)
- Warm berry compote or cherry sauce
- Dusting of powdered sugar or a drizzle of caramel
- Toasted almond slices or chopped pistachios for crunch
Storage Tips
- Refrigerator: Store the cheesecake covered in the fridge for up to 4 days.
- Freezer: Wrap slices individually and freeze for up to 2 months. Thaw in the fridge overnight before serving.
FAQs About Basque Burnt Cheesecake
Can I use heavy cream instead of whipping cream?
Yes, both work beautifully in this recipe. Heavy cream gives a slightly richer finish.
Why is the top of the cheesecake burnt?
It’s intentional! The dark top forms from high heat, creating caramelized flavor while the inside stays smooth and creamy.
How do I avoid cracks?
Cracks aren’t a problem here they’re part of the rustic charm. The parchment paper also helps hold the shape gently as it bakes.
Can I bake this in a different sized pan?
Yes. Use a 9-inch pan for a thinner cheesecake and reduce baking time slightly. For a taller cake, stick with an 8-inch pan.
Do I need a water bath?
No water bath is needed! The high temp bake gives it a signature burnt top and creamy texture no steam required.
Related Recipes You’ll Love
- Fluffy Japanese Cheese Cake Recipe
- Creamy Lemon Cake You’ll Make Every Week
- Homemade Soft and Fluffy Milk Buns
❤️ Follow more delicious creations at our Facebook page and never miss a new bake!